
Can You Clean a Dryer Vent Yourself?
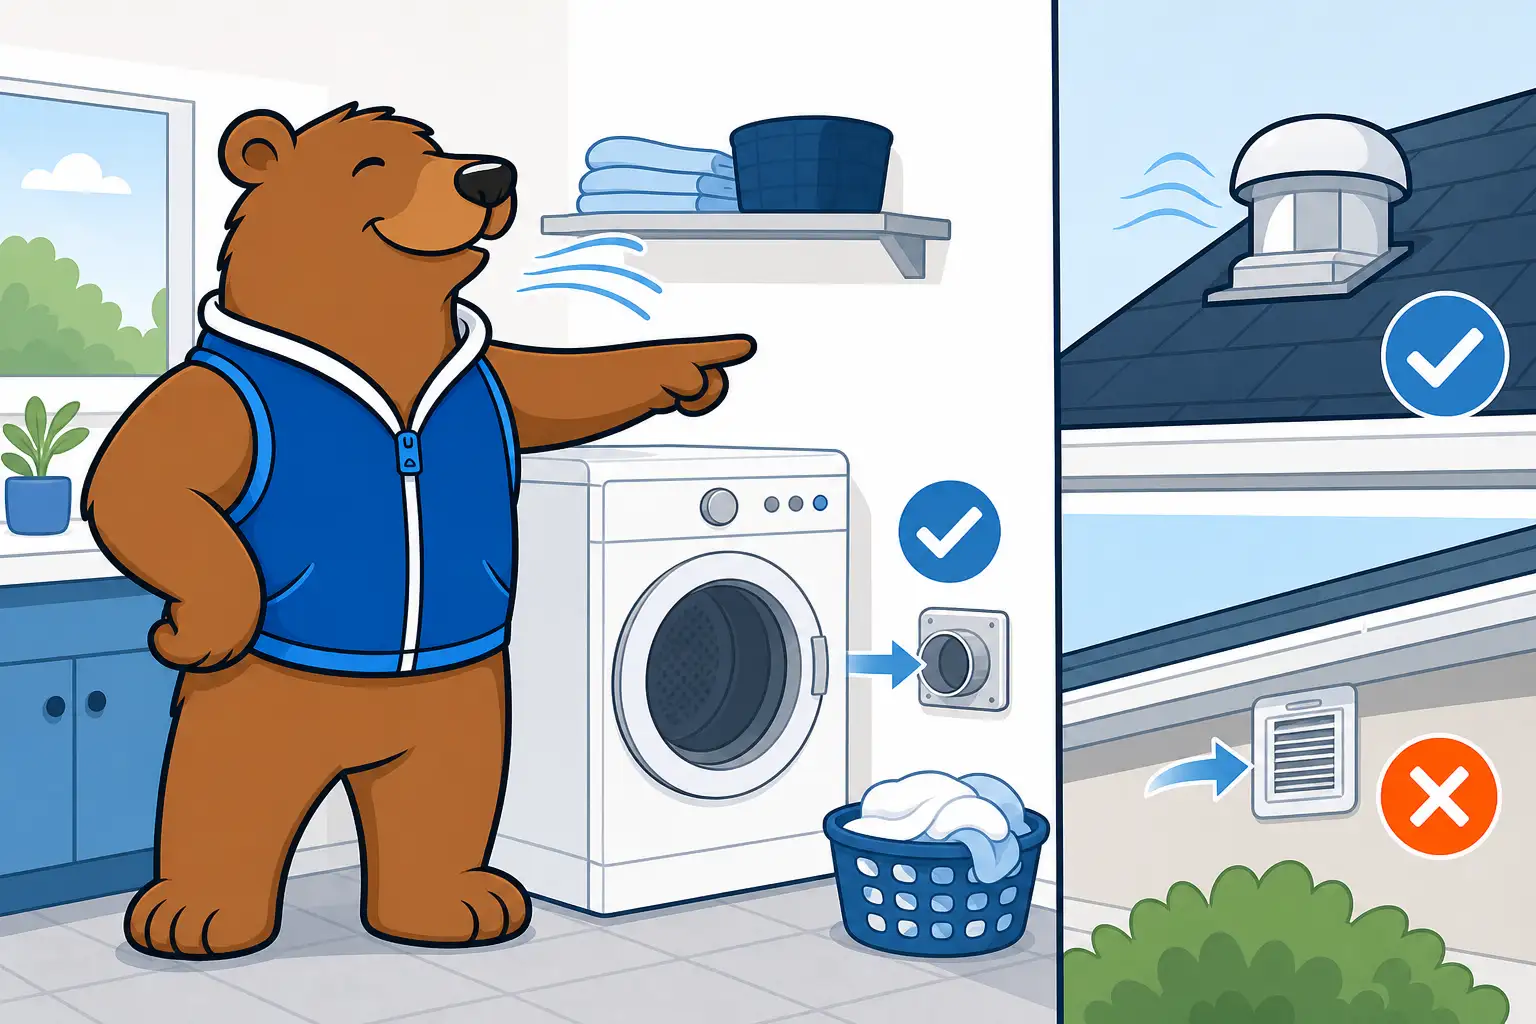
The Short Answer
Yes, you can clean a dryer vent yourself if you stick to the lint screen, lint trap housing, short transition duct, and reachable exterior vent hood. Stop DIY when the duct runs inside walls or ceilings, exits the roof, has long bends, serves a stacked unit, or still has weak airflow after cleaning.
Yes, you can clean a dryer vent yourself if you stay with the parts you can see, reach, remove, and reinstall safely. Homeowners can handle the lint screen, lint trap housing, short transition duct, and reachable exterior vent hood. The full dryer exhaust duct inside the wall, ceiling, attic, or roof run is where most DIY jobs stop, especially in Long Island homes with long routes and tight laundry spaces.
What parts of a dryer vent can you safely clean yourself?
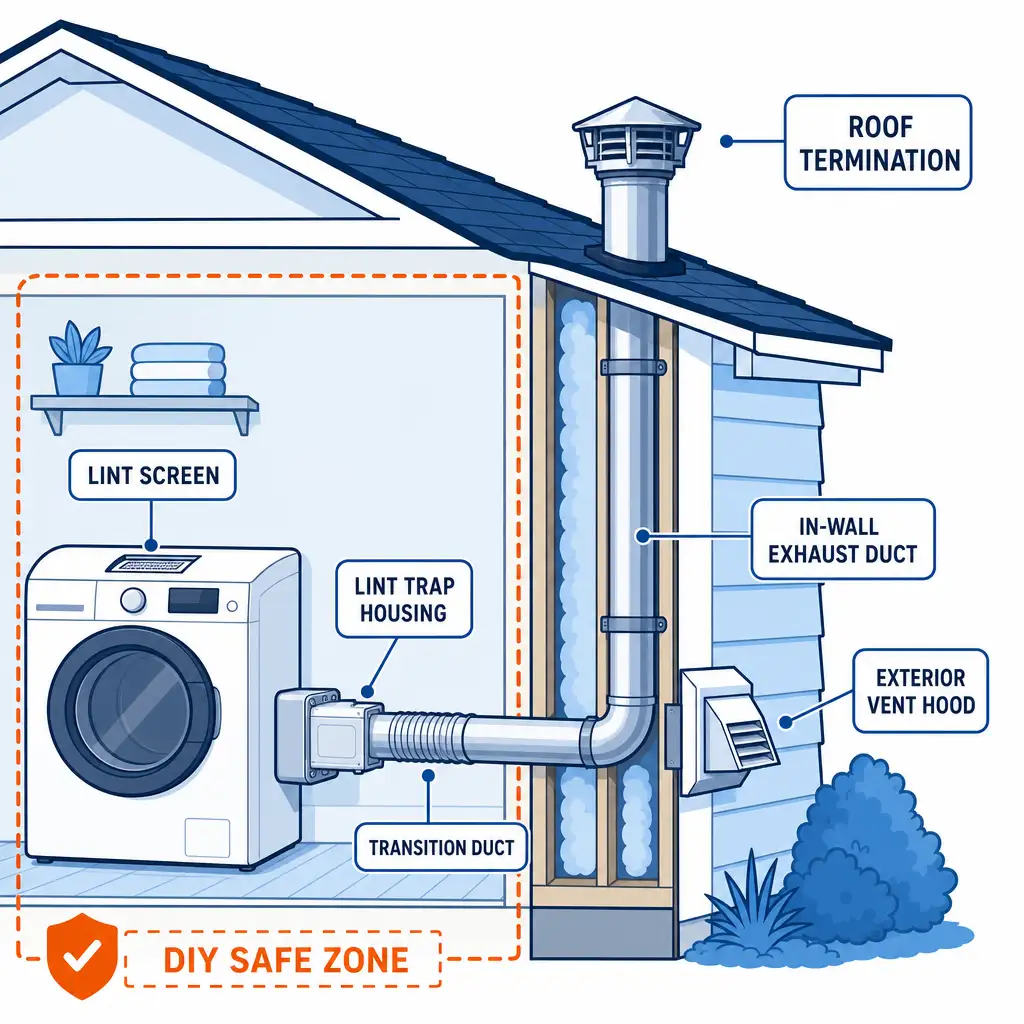
You can safely clean the lint screen, the lint trap housing, the space behind the dryer, the transition duct if it is easy to remove, and the exterior vent hood if you can reach it from the ground. You should not force brushes through unknown ducts, climb onto steep roofs, open gas connections, or pull stacked units out of tight closets without help.
Think of the dryer vent system in separate pieces:
| Part | DIY-friendly? | What to watch for |
|---|---|---|
| Lint screen | Yes | Clean before every load |
| Lint trap housing | Yes | Use a long vacuum attachment, not sharp tools |
| Transition duct behind dryer | Sometimes | Stop if it is crushed, brittle, taped badly, or hard to reach |
| Dryer exhaust duct inside wall or ceiling | Usually no | Long runs, elbows, and hidden joints trap lint |
| Exterior vent hood or wall termination | Yes, if reachable | Make sure the backdraft damper moves freely |
| Roof termination | No for most homeowners | Roof work, height, and bird guards add risk |
A simple first-floor wall vent in a ranch is very different from a second-floor laundry closet in a hi-ranch or a stacked washer and dryer in a condo. Generic DIY advice often assumes a short, straight duct. Many Long Island homes do not have that layout.
How do you clean the dryer vent yourself safely?
Start with the parts you can see and reach, then stop before the job turns into blind duct work. A safe DIY cleaning removes lint from the dryer’s serviceable areas and the accessible vent parts without damaging the duct, disconnecting hidden joints, or pushing lint deeper into the run. If airflow still feels weak afterward, the duct needs professional cleaning.
-
Unplug the dryer. For an electric dryer, disconnect the power cord. For a gas dryer, do not move it far enough to strain the gas line. If you smell gas or the dryer connection looks stressed, stop and call a qualified appliance or gas professional.
-
Clean the lint screen. Remove lint by hand, then wash the screen with warm water if fabric softener residue has built up. Let it dry fully before reinstalling it. A coated screen blocks airflow even when it looks mostly clean.
-
Vacuum the lint trap housing. Use a narrow vacuum attachment made for dryer lint slots. Keep screws, pens, and coins out of the opening. Do not jab with a coat hanger or knife, since you can damage the housing or moisture sensor wiring.
-
Pull the dryer out only if it moves safely. Leave enough space to see the transition duct. In a laundry closet, condo, co-op, or townhome, stop if the dryer is wedged in place, stacked, or blocked by doors, shelving, or HOA access limits.
-
Inspect the transition duct. Look for foil flex duct, plastic vinyl duct, crushed sections, loose worm-gear clamps, and taped joints. Rigid metal duct and semi-rigid aluminum duct are safer, cleaner choices. Plastic vinyl duct should be replaced, not cleaned and reused.
-
Remove and vacuum the transition duct if it is accessible. Loosen the clamps, remove the short hose, vacuum both ends, then reinstall it without crushing it. Use foil HVAC tape on metal joints where needed. Do not use regular duct tape, because it dries out and fails near heat.
-
Check the exterior vent hood. If it is a reachable wall termination, clear lint from the hood and make sure the backdraft damper opens and closes. Remove visible nesting material from the outside only. If you see a pest nest deep inside, stop.
-
Run the dryer on air-only or low heat. Go outside and feel for exhaust flow. Strong, steady airflow at the exterior vent is a good sign. Weak airflow, lint blowing out in clumps, or a flap that barely opens means the full duct is still restricted.
A dryer vent brush kit is useful on short, straight, known metal ducts. It becomes risky in long runs with 90-degree elbows, booster fans, hidden joints, foil flex duct, or roof terminations. Brushes get stuck, unwind, or disconnect sections when the duct was poorly installed or already loose.
A shop vacuum is safe for reachable lint. A leaf blower is risky because it pushes lint forward without showing you what happened inside the duct. It also forces debris against bird guards, backdraft dampers, and booster fans. We do not recommend using a leaf blower as proof that the duct is clean.
How do you know whether the full in-wall duct is actually clean?
You only know the full duct is clean when lint is removed from the dryer side through the outside termination and airflow is checked after the cleaning. A homeowner can make a good surface check, but hidden elbows, ceiling runs, wall cavities, roof exits, and booster fans keep you from seeing the whole system with basic tools.
Signs that the full duct still needs work include weak exhaust at the hood, a hot laundry room, a dryer top that feels hotter than normal, loads taking longer than one cycle, a burning lint smell, lint around the exterior vent, or a thermal fuse that keeps failing. Moisture sensor problems and appliance issues also happen, but airflow comes first.
NFPA dryer safety guidance tells homeowners to clean the lint filter before or after each load and clean the dryer vent pipe at least once a year. We follow that annual dryer exhaust vent position because lint is fuel, and a restricted vent holds that fuel in a hot airflow path. The NFPA explains those maintenance steps in its clothes dryer safety tip sheet.
The U.S. Fire Administration, Consumer Product Safety Commission, NFPA, manufacturer installation instructions, International Residential Code Section M1502, and New York State Residential Code all point in the same practical direction: dryer exhaust needs proper materials, open airflow, and a safe route outdoors. If the setup is crushed, taped wrong, disconnected, or routed through unsafe material, cleaning alone is not enough.
Why are Long Island dryer vents often harder than generic DIY guides suggest?
Long Island homes mix older layouts, additions, tight laundry closets, and long vent routes, so the vent you see behind the dryer is not always the whole problem. In Nassau County and Suffolk County, we often find vents running through basements, garages, ceilings, soffits, roof decks, and exterior walls before they finally exit outside.
In the Town of Hempstead, Town of Oyster Bay, and Town of North Hempstead, capes and split-level homes often have laundry areas that were moved after the house was built. In Huntington, Islip, Brookhaven, Smithtown, and Babylon, we see ranches, hi-ranches, South Shore homes, and North Shore homes where the dryer run has more elbows than the homeowner expected.
Condos, co-ops, and townhomes add another layer. A laundry closet may require door removal or stacked-unit access. Some HOA or condo board access rules control roof access, exterior vent covers, shared walls, and contractor insurance. In those cases, DIY work at the lint screen is fine, but the building rules decide who touches the termination.
Roof termination vents are not DIY-friendly for most homeowners. Bird guards clog with lint when the mesh is too tight. Backdraft dampers stick. Pest nests block airflow. A long vertical duct also drops lint back into low spots if it is only brushed from one side.
When should you stop DIY and call a professional?
Stop DIY when the dryer vent is hard to access, the duct is long, the vent exits the roof, airflow stays weak, the dryer overheats, or the duct material looks unsafe. A professional cleaning is also the right call when a brush kit will not pass smoothly or when you cannot confirm that lint reached the outside.
Call for dryer vent cleaning when you see any of these warning signs:
- Clothes need a second cycle after you cleaned the lint screen.
- The dryer shuts off mid-cycle or trips a thermal fuse.
- The laundry room feels humid or unusually hot.
- The outside flap barely opens while the dryer runs.
- You smell hot lint or a light burning odor.
- Lint collects behind the dryer or around the wall termination.
- The transition duct is crushed, kinked, plastic vinyl, or badly taped.
- The dryer is stacked, boxed in, or connected to a gas line you are not comfortable moving.
- The vent has a booster fan, multiple 90-degree elbows, or a roof exit.
The NFPA also publishes research on home fires involving dryers and washing machines. We do not use scare tactics, but the safety point is plain: lint in a restricted exhaust path gives a fire more fuel, and annual vent cleaning removes that fuel from the duct. See the NFPA’s dryer and washer fire research for the fire-risk background.
What should a professional dryer vent cleaning include?
A professional dryer vent cleaning should clean the dryer connection area, the transition duct when accessible, the full dryer exhaust duct, and the outside termination, then check airflow. Our technicians pull lint out of the run instead of pushing it deeper, and we confirm that the vent discharges outside with stronger airflow before we wrap up.
Here is what we include on a normal dryer vent service:
- We inspect the dryer setup and vent route we can access.
- We move the dryer when it is safe and practical.
- We clean lint from the dryer connection and transition duct.
- We run professional tools through the dryer exhaust duct.
- We clean the wall termination or roof termination where accessible under safe conditions.
- We check the backdraft damper, hood, bird guard, and visible exterior restriction points.
- We perform an airflow check after the lint is removed.
- We point out unsafe materials, crushed flex, loose clamps, or duct tape failures.
We also tell you when cleaning is not the whole answer. If the dryer is connected with plastic vinyl duct, crushed foil flex duct, failing tape, or a dangerous route, we recommend a safety upgrade. Rigid metal duct or properly installed semi-rigid aluminum duct moves air better and holds its shape. Manufacturer installation instructions and code rules matter here, especially for gas dryer setups and concealed runs.
We do not fold unrelated air duct work into a dryer vent visit unless you ask about it. If your real concern is HVAC dust, vents, or renovation debris, read our guide to what air duct cleaning actually does or see our air duct cleaning service page. Dryer exhaust and HVAC ducts are separate systems with separate reasons to clean them.
What should you expect for price, booking, and written service terms?
Our dryer vent cleaning offer is $79, and we explain what the visit covers before work starts. Conditions that change the plan are access issues, unsafe vent materials, disconnected sections, roof access, pest nesting, booster fans, stacked units, and repairs or replacements that go beyond cleaning. We put the scope in writing so you can decide before approving extra work.
The current dryer vent special covers the cleaning visit, not rebuilding a vent system or correcting unsafe installation. If we find plastic vinyl duct, crushed foil, missing clamps, bad exterior covers, or a blocked roof termination, we show you the issue and price the correction separately. You can also review our current specials before scheduling.
For scheduling, our real job history gives a practical expectation. In one 331-job scheduling review, the median booking-to-visit lead time was 4 days, with 22 same-day and 46 next-day visits. In our more recent completed-job snapshot, we recorded 26 same-day and 58 next-day visits completed since May 2026. Arrival windows are 3 hours, and the 8:00 AM window is the one homeowners request most.
You can call 631-900-2634 from 8 AM to 7 PM ET, or schedule your visit online any time. If you need a written quote to discuss at home, ask for it before authorizing added repairs or upgrades. We want you to understand the difference between cleaning lint out of the vent and changing unsafe parts of the system.
We serve Long Island first, including Nassau County and Suffolk County, with Queens and Brooklyn as secondary areas. If you are checking coverage for a townhome, co-op, or condo building, tell us how your laundry area is set up so we can plan the access correctly.
DIY or book a pro, how should you decide?
Choose DIY for routine lint screen cleaning, reachable lint trap vacuuming, and a short transition duct you can safely remove and reinstall. Book a pro when the vent route is hidden, long, roofed, clogged, unsafe, or still weak after basic maintenance. Repair or upgrade the vent when the material or routing creates the problem.
Use this simple checklist:
DIY maintenance is enough for now if:
- The dryer finishes normal loads in one cycle.
- The exterior wall vent is easy to reach.
- Airflow feels strong outside.
- The transition duct is short, smooth, and not crushed.
- You only see lint at the lint screen and trap housing.
Book professional cleaning if:
- You have not had the exhaust vent cleaned in the past year.
- The dryer gets hot or the room feels humid.
- The vent exits through the roof or a second-story wall.
- The duct run has elbows, a booster fan, or unknown routing.
- You tried basic cleaning and airflow did not improve.
Plan a safety correction if:
- The dryer uses plastic vinyl duct.
- Foil flex is crushed behind the appliance.
- Joints rely on regular duct tape instead of proper clamps and foil HVAC tape.
- A bird guard or pest nest blocks the termination.
- A stacked washer and dryer cannot be moved without disconnecting or damaging the setup.
The honest answer is this: you should clean the easy lint points yourself all year, and you should have the full dryer exhaust vent cleaned at least annually. DIY maintenance keeps lint from building fast. Professional cleaning clears the duct you cannot see, restores open airflow, and removes the lint your dryer has been pushing into the run.
Frequently Asked Questions
Yes, a brush kit can get stuck or damage the vent when the duct has loose joints, sharp elbows, foil flex, a booster fan, or a long hidden run. Use a brush only on a short, known metal duct. If the brush stops moving freely, do not force it. Forcing it turns a cleaning task into a repair problem.
Written by
MikeField Technician
Mike is a field technician at FreshBear. He cleans dryer vents, air ducts, and chimneys in Long Island homes, so the guides under his name come from the jobs he runs: what a vent line actually looks like when it comes apart, and what he finds behind the dryer. Everything published under his byline is checked against that first-hand experience.
Keep Reading

Roof vs Wall Dryer Vent Long Island Homes: Which Is Better?
Wall dryer vents usually win on Long Island, but roof vents can be fine when the route is short, smooth, accessible, and cleaned on schedule.
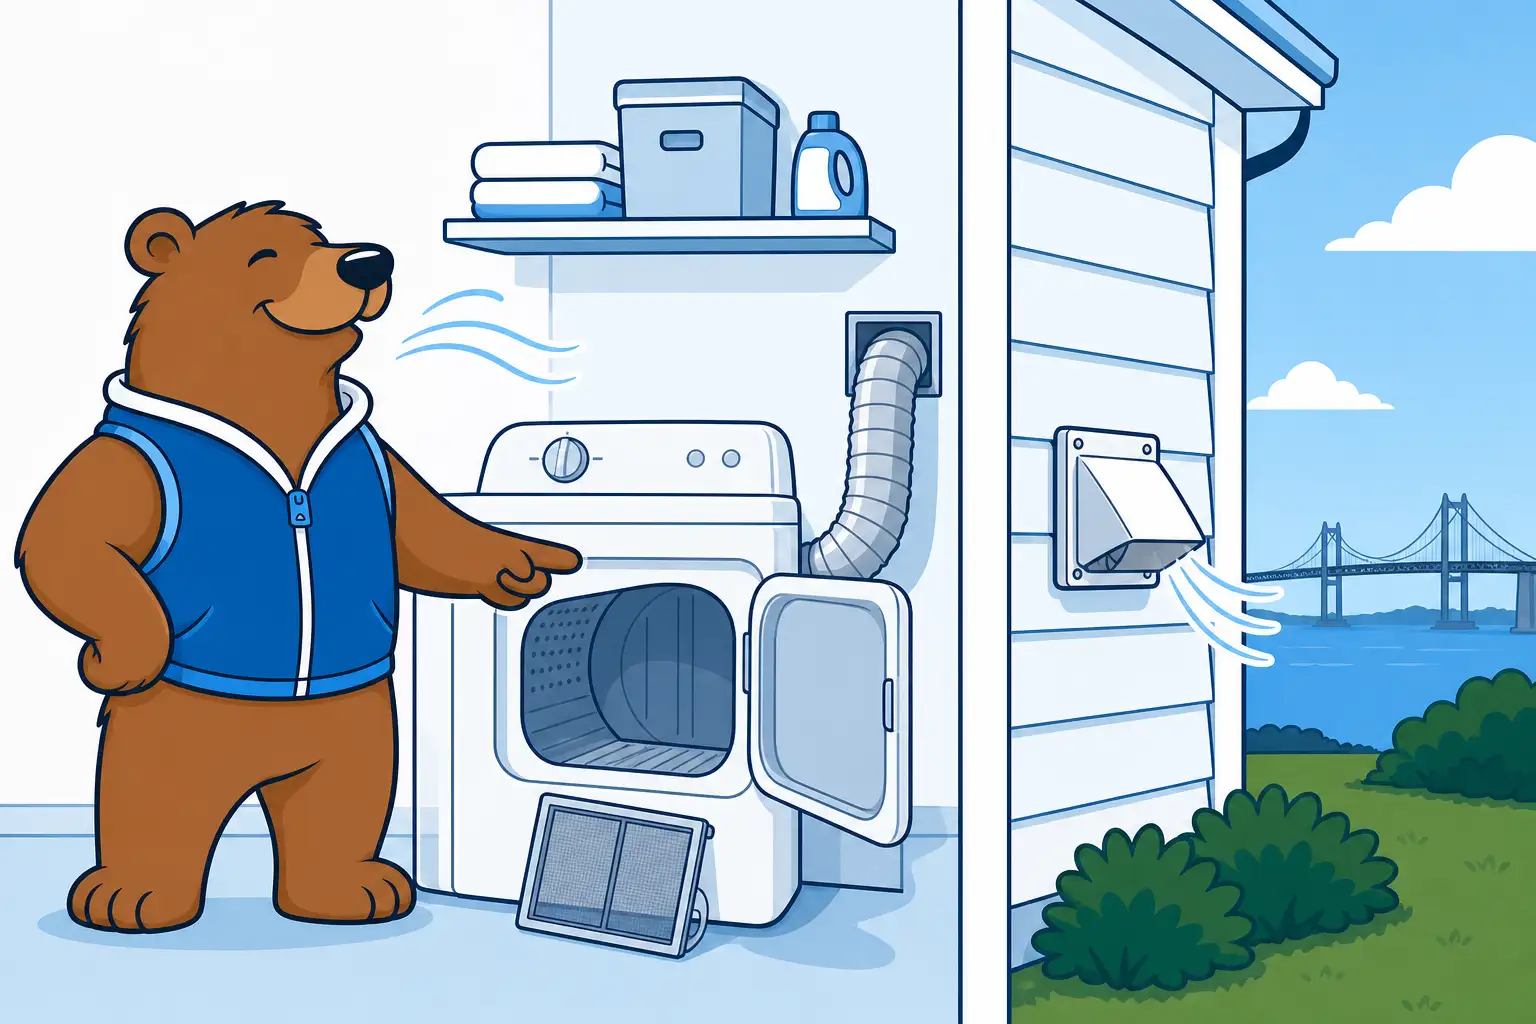
Dryer Vent Cleaning vs Lint Trap: What's the Difference?
The lint trap is only the removable screen. The dryer vent is the hidden exhaust path. Here is where each cleaning stops, what we clean, and when to schedule service.